
August 14, 2013
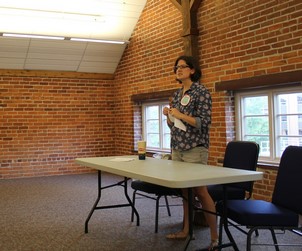
August Challenge:
Fabric Box!
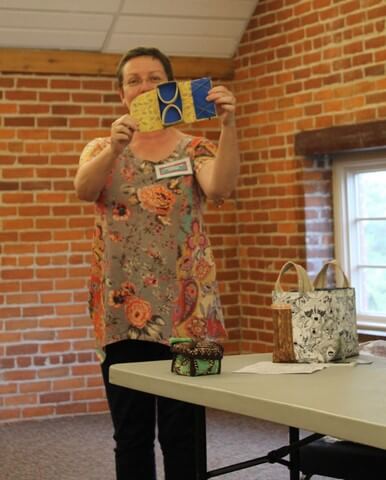
Christine made a fabric bucket from the free tutorial on
Whipstitch. She used decorator-weight fabric on the outside and fusible fleece
as the stabilizer.
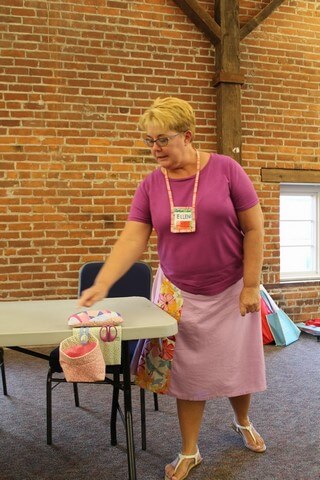
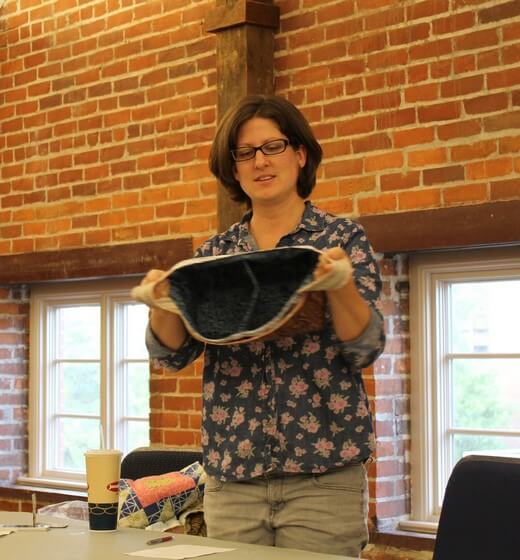
Ellen made a thread catcher from an Elizabeth Hartman
tutorial on Sew Mama Sew. The weight is filled with walnut shells. It’s also
her re-use challenge, as the pink fabric is made from curtains her mom made for
her 30 years ago.
Carolyn used fusible fleece as the stabilizer and cardboard
on the bottom of her container.
Kathy made this basket with a Film in the Fridge free
pattern. She made the smallest size, but she’s also made the largest size, and
it stands up great.
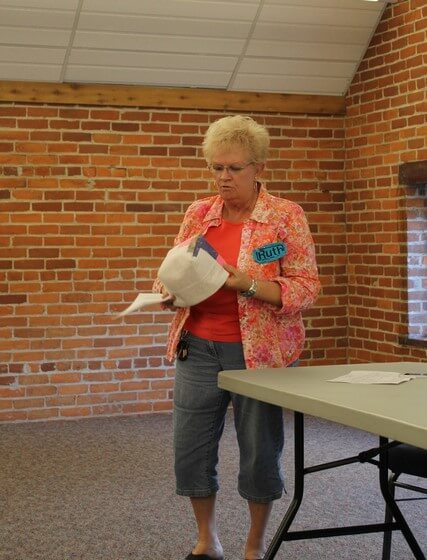
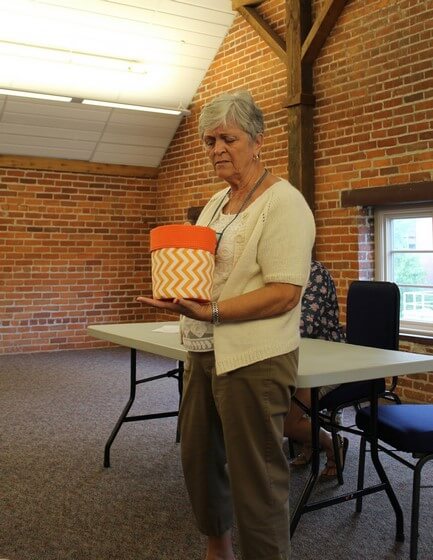
Ruth used a log-cabin placemat for her basket. Another
upcycled project!
Jessica used a Noodlehead pattern to make this basket with
an outside pocket and an inside divider. The handles are a burlap ribbon and
Jessica added piping. Fusible web and fusible fleece were both used for
stabilizers.
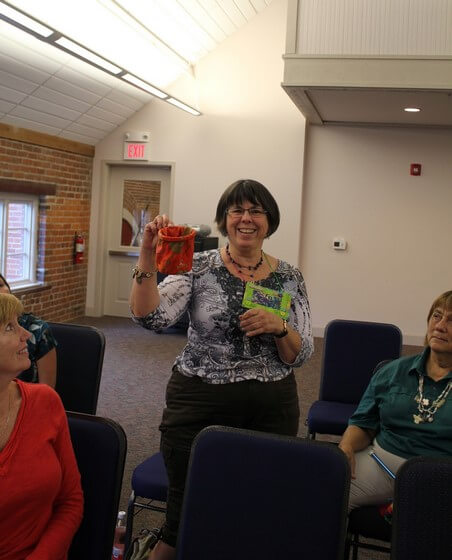
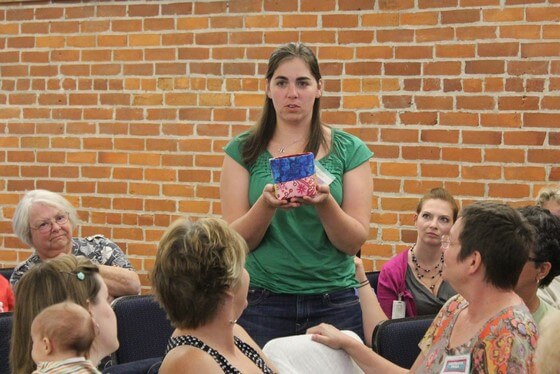
Cass's friend Barb made one box that Cass won at a silent
auction.
And her friend Cheryl made a sewing kit modeled after a 1940's sewing
box.
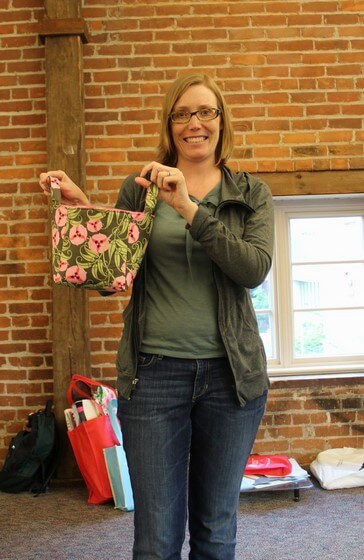
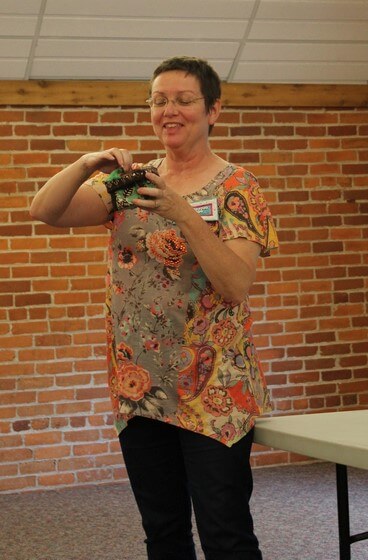
Amanda used the same pattern as Ellen for her box. She made
it to match the pincushion she received from the QuiltCon swap. Amanda didn’t
use any interfacing, and the box stands nicely.

New member Chris made a box with Peltex stabilizer sides
held together with grommets and ribbon.
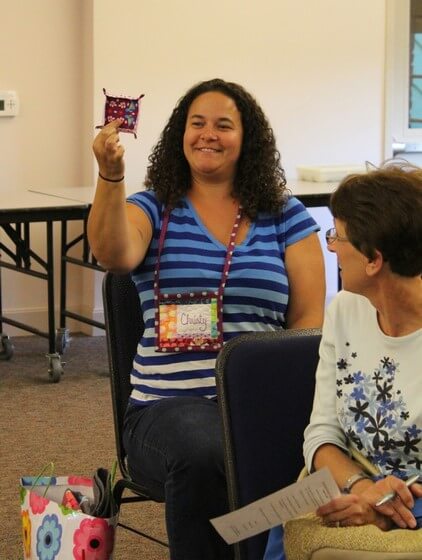
Christy made a tiny fabric tray for the change in her car,
using the Noodlehead design from the blog.
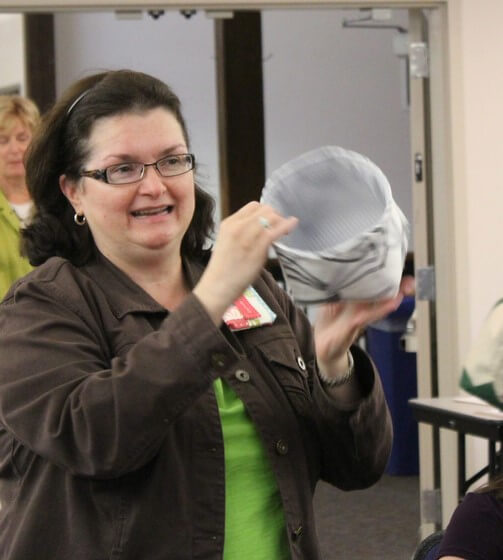
Sheila came up with her own design, using fusible batting
for her stabilizer.
Sew-In
Wyoming Library, Saturday, September 28, from 10-4
No need to sign up at this time. Bring your own project and
sew!
Barn Harvest Festival
October 20, 2013, 12-5
Karen, the Marketing Director at the Barn, has invited us to
contribute quilts for a show inside the Barn during the Harvest Festival. Your
contribution to the show can be any modern quilt you've made in the past few
years.
Also, the guild will be having a vendor booth at this event.
We’re asking members to donate 1 or 2 small items to sell. Popular projects in
the past have been baby items, fabric boxes, softies, zippered pouches, etc.
The look of the items should lean toward the modern aesthetic. All the projects
are due at the October meeting. Proceeds from the sale will go toward CMQG.
Sew Original Quilt
& Creative Expo
Louisville, August 31-September 1
We’re still looking for volunteers to man our booth to
promote modern quilting, especially on Thursday to set up the show. See Heather
if you’re able to help out. Ideally, we’d like two people in the booth during
all show hours. We’ve ordered postcards about the guild to hand out at the
booth. Heather will also e-mail modern quilting talking points to the
volunteers.
Quilts of Valor
Andie is collecting quilt blocks for the quilt top we’re
putting together for Quilts of Valor. Please contribute a block between 8"
and 16" square, any star of your choice, in navy, red, and cream. Be sure
to sign your name someplace on the block (your signature can be small). Blocks
are due at the September meeting. If you would like to donate a quilt top of
your own, Andie will send it to Quilts of Valor.
IQF and Flying Geese
IQF will not be returning to Cincinnati in 2014, so we will
not be showing our flying geese at that show. But let’s do the challenge
anyway! Keep thinking about your flying geese ideas, and we’ll work to find a
place to show them. Since we’re controlling the show, there’s no size limit at
this time, but that might change once we find a venue.
F+W Media Ohio Star
Project
F+W has made the business decision to cancel the Ohio Star
project book. Thanks to everyone who volunteered their quilts to this project.
If you have written your quilt instructions, hold on to them! We may find
another project in the future, or maybe you can sell it on your own!
Cincinnati Community
Quilt
Becca and Gwen from the Cincinnati Museum Center attended
the meeting to share more information about this project. CMC has decided to
create a giant (90” x 200”) Cincinnati Memory Quilt. The project information will
go live to the public on September 1. The goal is to hang the quilt in Union
Terminal during the holiday season in 2014. Everyone is asked to contribute 9”
(8.5” finished) squares that represent your favorite Cincinnati memory. The
blocks should be 100% cotton, medium weight, any color or print. Embellishments
are fine. Submissions are due September 31.
In addition to contributing blocks, CMQG will be meeting
twice to help put the quilt together.
Sew-In: We'll be sewing the blocks together on Saturday,
November 16, at the Colette Gallery at Union Terminal. We'll be meeting from 10am
to 5pm. Bring your own machine.
Tie-In: We'll be tying the quilt during our January meeting.
Wednesday, January 8, 2014, at the Museum Center in Colette Gallery. The time
will be our usual meeting time, from 7pm to 9pm.
Becca and Gwen will look into providing parking passes for
the meetings at the Museum Center.
September Meeting
Swap: Make a modern mug rug to swap with another guild member.
What’s a mug rug? A fancy coaster. Any size—8" x 8", 5" x 7",
6" x 6"—is fine, but it should be large enough to fit a cup of coffee
and a scone.
Extended Show and Tell! Since we didn't get around to show
and tell at the August meeting.
Note: Cass will be discussing the quilt-as-you-go technique
in October, to allow for the extended show and tell.

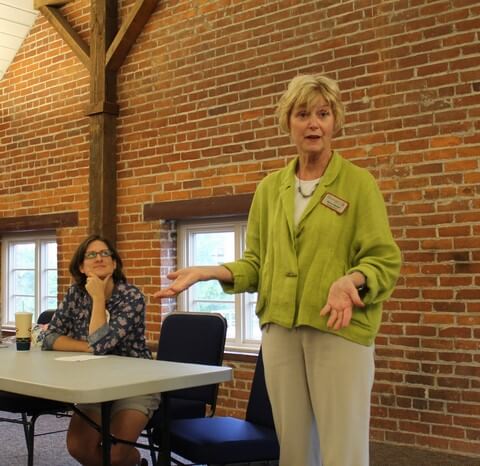
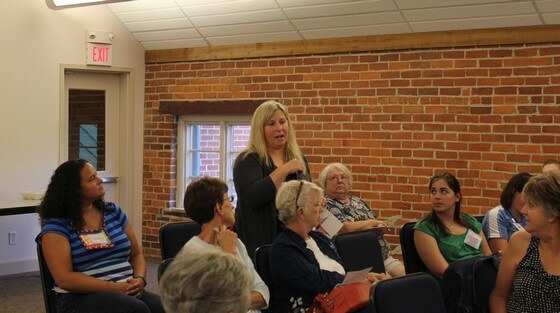
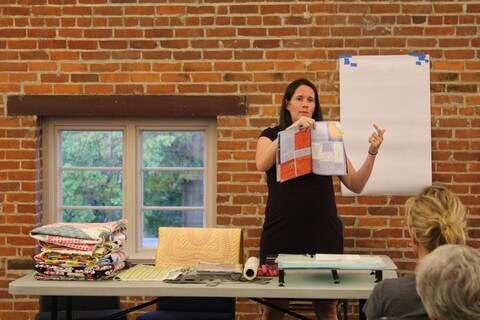
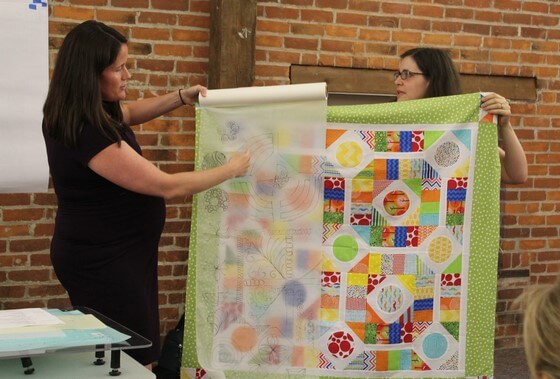
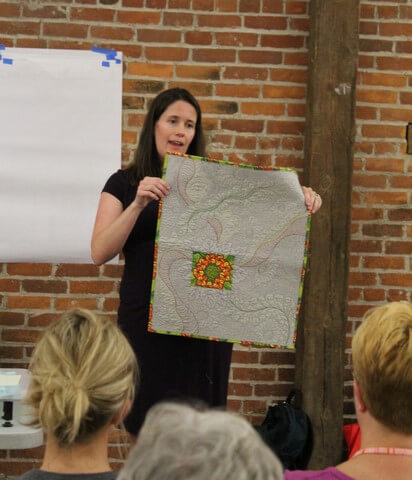
Free-Motion Quilting
with Holly
The education portion of the meeting was presented by Holly
on free-motion quilting. Holly used to make a quilt tops and just put them in a
stack because she didn’t want to ruin them with bad stitching. Julie Lambert
inspired her with her fabulous quilting on a home machine, so Holly took a
class from her.

Holly's takeaways from that first class were:
It’s OK to use a template.
It’s OK to mark every single line.
Free-motion quilters actually stitch over lines that they’ve
already stitched, especially for grids.
Holly encourages everyone to take classes, whether at a
store, at a show, or even online. The instructors don’t need to be big name
people, because every instructor will have tips and tricks that you’ll fine
useful.
Next Holly talked through her process for free-motion
quilting.
1. Find inspiration: She gets a lot of her inspiration from
looking at blogs of people she admires, from books and magazines. The idea
isn't to copy what others have done but to get ideas for filling a large space,
for example. Machine Quilting is a
great magazine to get because it includes diagrams of the steps for making a
pattern. Online videos are great, too, for seeing the paths.
2. Start sketching: Once you have the inspiration, start
sketching with a pencil and piece of paper. Figure out how best to put together
a design. It’s like having good handwriting. It takes practice and then you get
used to the movements.
3. Try the design on a practice sandwich: Next Holly tries
to sew the design on a practice quilt sandwich of ugly fabric and batting. She
uses these practice sandwiches to try a new thread or new pattern or to just get
warmed up before she starts quilting. The more you practice the better you get
at judging spaces and executing ideas, too.
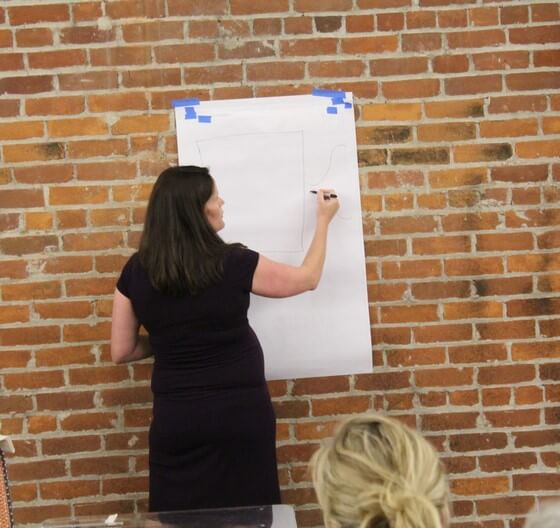
4. Try the design on your quilt with tracing paper: Once you
have your design, you have to figure out how to put that on your quilt. Holly
lays the quilt top on floor, places tracing paper over it, and uses a felt-trip
pen to sketch out possible designs right over the areas of the quilt. Rolls of
tracing paper are available at art supply stores that sell drafting supplies or
at Kramer’s.
5. Jump into the quilting: Holly doesn't recommend starting
with anything large. Try a placement, table runner or wall hanging. They are
easier to move around your machine, and it gets done quickly. She also
recommends starting with an overall pattern that goes over the whole quilt,
something that’s just straight lines or a stipple.
Holly still takes classes, and her most recent class was one
on feathers with Irene Bloom. It was 3-4 hours of sketching only—no sewing. Once
she got home, she made a nicer sample to get all the ideas from her class onto
fabric.
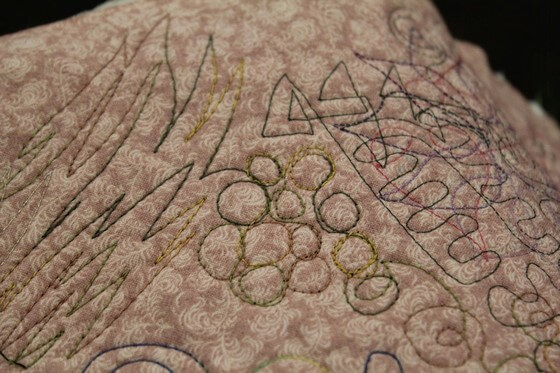
Her Dresden plate quilt has feathers. In this case, Holly
figured out the quilting for one section of the design on tracing paper,
stitched it in this section, and then traced out the next section. She didn't
do any marking on this quilt.
Holly's must-have tools include:
Marking pens: A blue pen with a fatter tip, for marking
light fabrics, and a mechanical chalk pencil, for dark fabrics.
Quilting gloves or gardening gloves for gripping the fabric
and moving it around.
Templates: They come in all sizes and are usually made from
plastic, or you can make your own out of cardstock. Even straight line
templates are handy.
Extension table: The Sew Steady table Holly has is made to
fit any machine. She leaves it on her machine all the time. (Gillian also
recommends going to the Ikea Hackers site for making your own table.)
Taller chair: This is helpful because it's easier on your
shoulders. Holly sits on two phone books to raise herself high enough for free-motion
quilting.
Holly then shared a few final words of wisdom:
Roll up both sides of your quilt so it’s not hanging off the
table, to keep your movement fluid.
Look at your quilting as a whole other layer of your quilt.
It's a way to add a different texture, a different pattern, and different
colors.
Give it a try, jump in, do what works best for you. You will
make mistakes. Don’t try to be a perfectionist. Just learn from your mistakes
and go with it!
No comments:
Post a Comment