March 11, 2015
Centennial Barn, Cincinnati, Ohio
Vice President Amy Thonnerieux presiding
Business
Name Tags: If you haven't done so yet, please make a name tag that you can wear to our meetings. We're always having new people join us, so it's nice to have the name tags so we can get to know each other better.
Member of the Month: Another way to help us get to know each other better is through the new member of the month program. Each month we'll feature a different member here on the blog. Look for more information coming soon!
Digital Member Forms: Members will soon be receiving an e-mail with a link to the member form. Even if you've filled one out in the past, we ask that you fill it out again with your latest information. This will also allow us to have all the information electronically for easy sorting and retrieval. Per Janine's request, we'll look into creating a member directory from the list. In addition, be sure to take some time to fill out the information about education: what you'd like to learn and what you might be willing to teach.
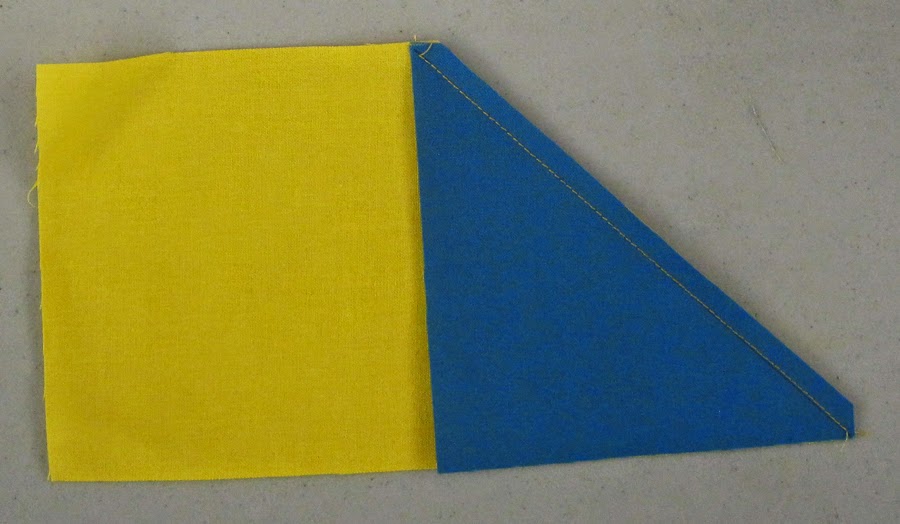
February Education Challenge: Several of the members brought pieced curve and reverse applique blocks using the techniques they learned at the February meeting. Thanks to all who gave it a try!
Stars for Stephanie:
Heather shared that the Knoxville Modern Quilt Guild
lost one of their founding members, Stephanie Hicks, to cancer. The
Knoxville Guild is collecting wonky stars blocks made in Stephanie's
favorite bright solid fabrics from all modern quilt guilds; the
Knoxville guild will then make the blocks into quilts to give to cancer
patients. Blocks are due April 18.
The
Cincinnati Modern Quilt Guild will be collecting blocks to donate at the
April meeting. After the April meeting, we'll ship all the
blocks to the Knoxville guild.
Please note that the blocks needs to 12.5-inch wonky stars made in bright solid fabrics. For a link to the wonky star tutorial and for more information, click here.
Make and Maybe Take: Remember the flying geese blocks using the Make and Maybe Take fabrics are due at the April meeting.
Check out the February meeting notes for all the details.
April Scrap Swap: Bring your modern fabric scraps to swap at the April meeting. Place your scraps in a one-gallon zippered plastic bag, then at the meeting, we'll combine all the scraps and redistribute them back into the bags. You may bring more than one bag filled with scraps. Scraps should be at least 2" in size and of modern fabric.
May Sew-In: Mark your calendars for May 30 when we'll have our next sew-in. This one will be held from 10am to 5pm at the Newport Public Library.
Round Robin
The members participating in the second round of round robin quilts brought their blocks to show. The next set of blocks are due at the May meeting.
|
| Abby's blocks for Ellen's quilt. |

|
| Annie made another asterisk block for Wendy's quilt. |

|
| Brooke added this fussy-cut border to Kara's quilt center. |

|
| Carrie added a flying geese border to Ellen M.'s quilt center. |

|
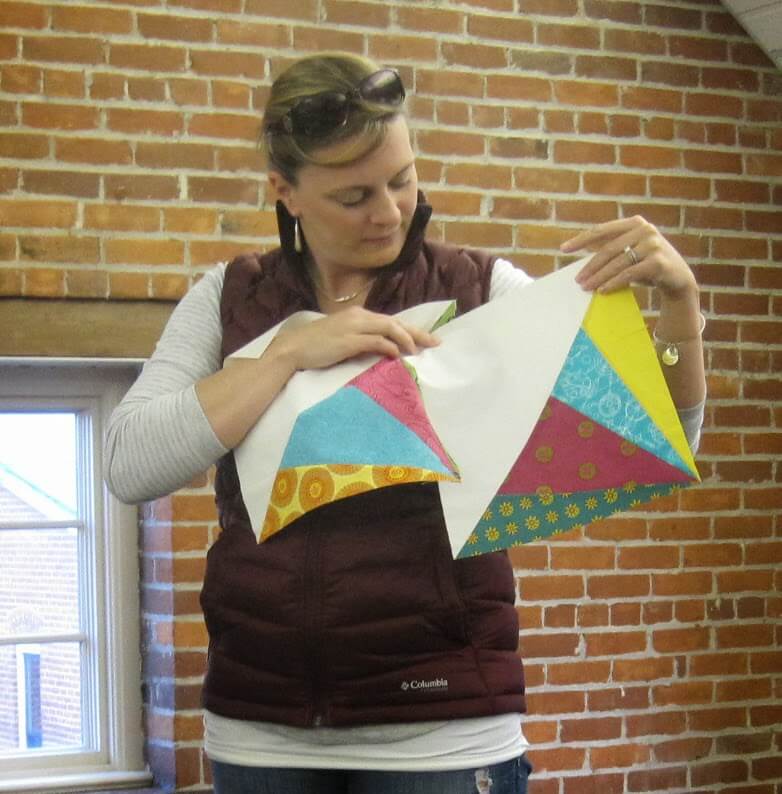
| Ellen made a few star blocks for Brooke's quilt, including one that used reverse applique, a technique featured in February's education segment. |

|
| Ellen M. made this paper-pieced block for Carrie's nature-themed quilt. |

|
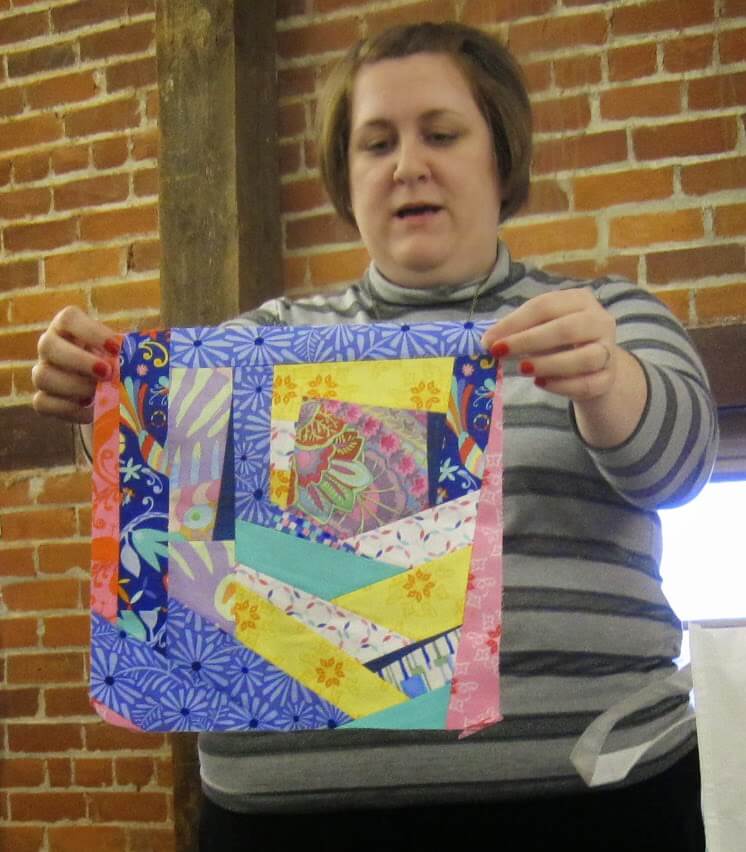
| Janine made the block on the left to go with Robin's original block on the right. |
|
| Kara made this block using Lesley's pack of fabrics and some of her own. |

|
| Kathy made these feather block for Abby's quilt. |

|
| Lesley made this block for Kathy's confetti quilt. |

|
| Wendy made this block for Annie's quilt. |

|
| Robin's blocks for Shonna's quilt. |
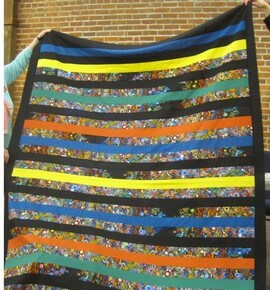
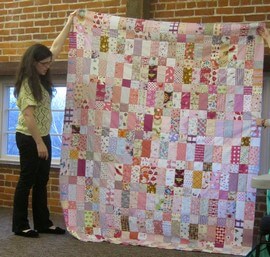
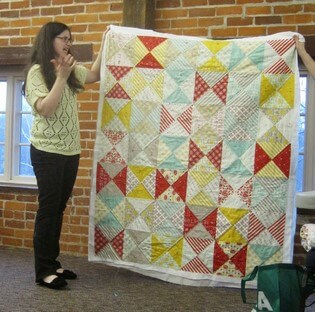
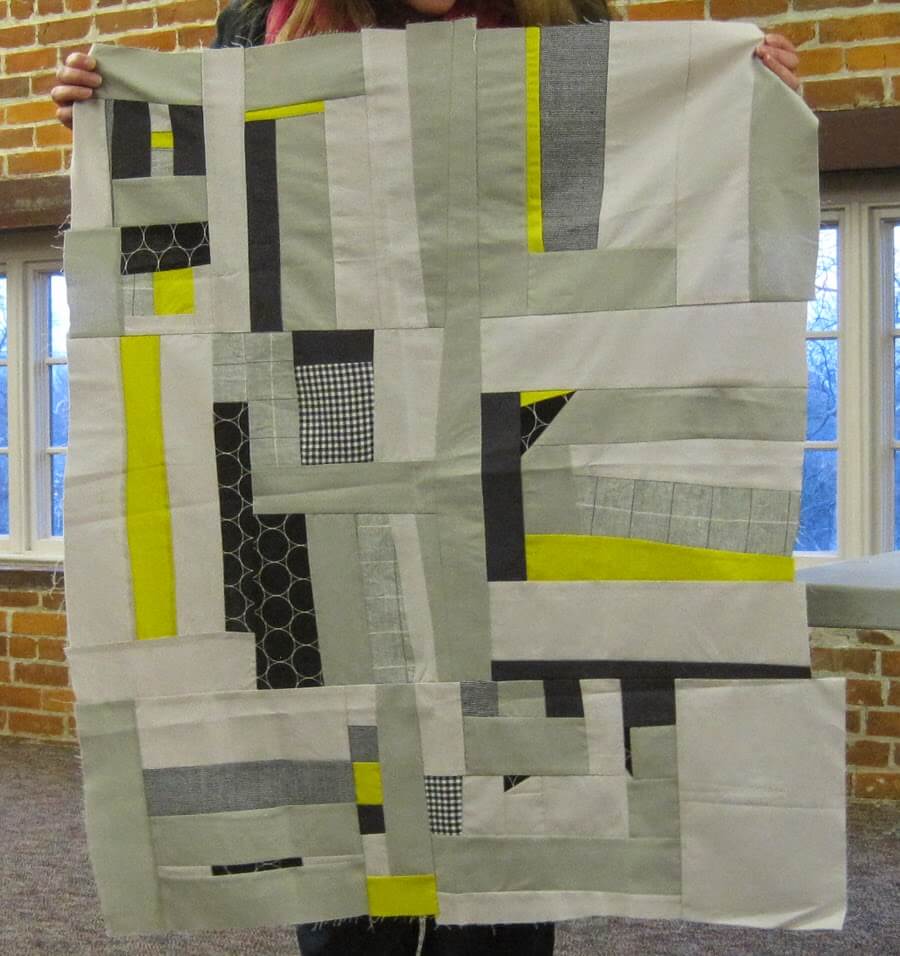
Show and Tell
|
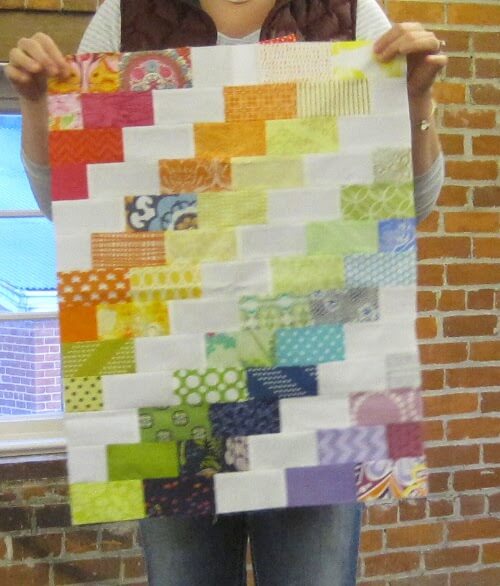
| Abby's rainbow mini quilt. |
|
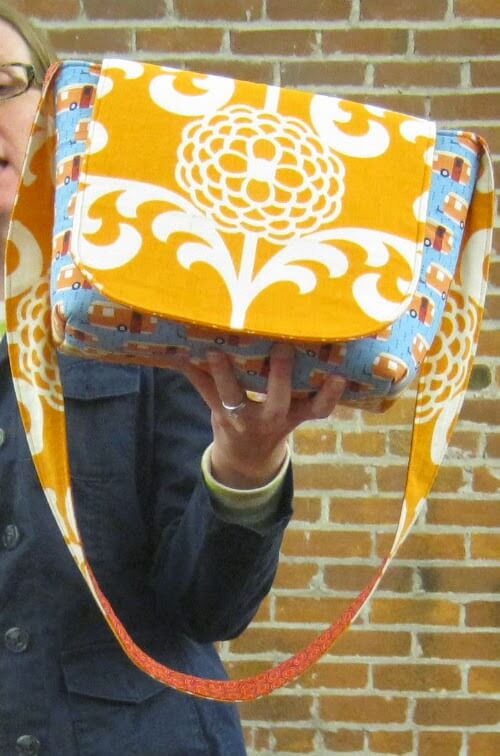
| Christine's messenger bag made using Soft and Stable to give it structure. |
|
| Christine completed this twin-size quilt top for the guild charity project. All the fabrics were donated. |

|
| Ellen M. attended Quilt Con and took long-arm quilting classes. Here's one of her practice pieces. |

|
| Here's Ellen's other quilting practice piece. |
|
| Gillian made this quilt using pinks for her daughter. |
|
| Gillian's hour glass quilt. |
|
| Heather made this piece at a Quilt Con event led by the women of Gee's Bend. |

|
| Robin's nautical baby quilt. |
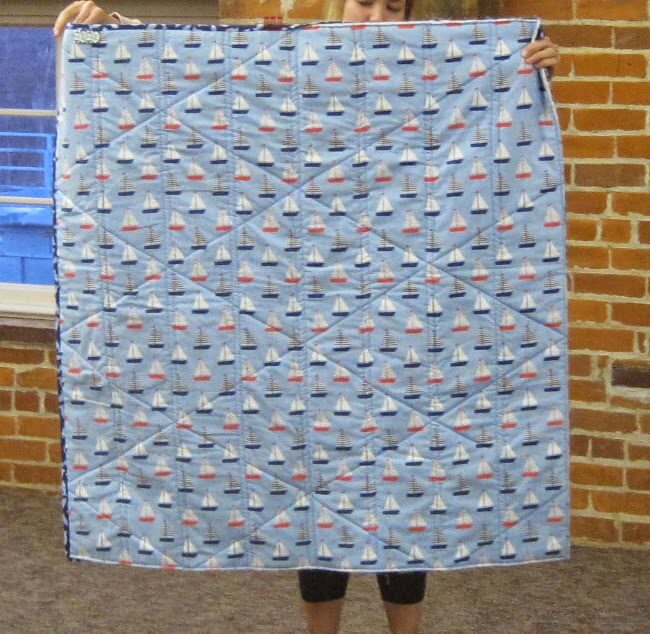
|
| The back of Robin's quilt. |
|
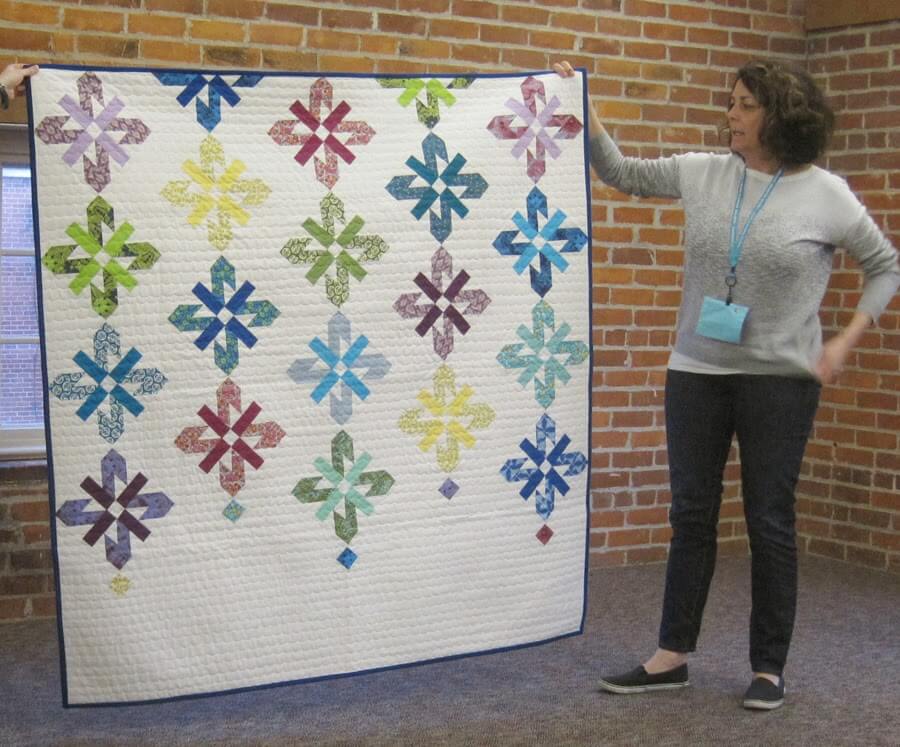
| Teresa's chandelier quilt. |

|
| The back of Teresa's quilt. |
Education: Flying Geese
For this month's education, Brooke showed us three ways to make flying geese, based on a presentation Ellen M. and Nancy gave at a guild meeting last year.
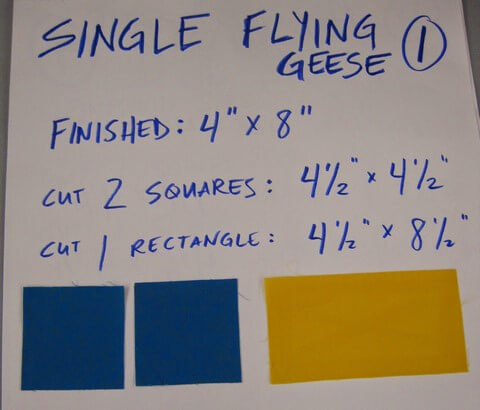
Method 1: Single Flying Geese
It's easy to make one flying geese block at a time, but as you'll see, there is a good amount of fabric waste.
|
| For a finished 4" x 8" block, cut your fabric as shown here. |
|
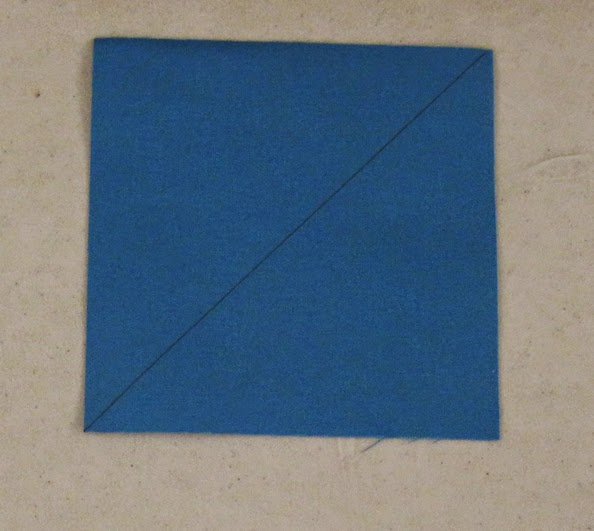
| Draw a line from corner to corner on each of the square blocks. |
|
| Align one square block in a corner of the rectangle block. Sew on the line your drew on the square. Then trim off the excess with a 1/4" seam allowance. |

|
| Press the square back. Repeat with the second square on the other corner of the rectangle. Again, sew on the line. |

|
| Trim and press the second piece back to reveal your finished flying geese block. |

|
| With this method, these squares of fabric are all waste. |
Method 2: No Waste Flying Geese
With this method you'll make four geese at one time with no fabric waste.

|
| For finished 4" x 8" blocks, cut your fabric as shown here. |

|
| Draw a line from corner to corner on all the small squares. |

|
| Place two small squares on opposite corners of the large square. Pin in place. Sew 1/4" on either side of the drawn lines. Then cut on the drawn lines. |

|
| Press the triangles up, so you have two pieces that look like this. |
|

|
| Place the remaining two small squares as shown. Again, sew 1/4" on either side of the drawn line. Then cut on the drawn line. |

|
| Press open the triangles, and you'll have four flying geese blocks! |
Method 3: Two Squares Flying Geese
With this method you'll make four geese, as well, with just tiny bit of waste.

|
| For finished blocks of 4: x 8", cut your fabric as shown above. |

|
| Center the smaller square on the larger square. Draw a line from corner to corner. |

|
| Sew 1/4" on either side of the drawn line. Then cut on the drawn line. |

|
| Press the seams to the larger triangle. Now align the outside edges of the two new squares. Don't align the seams. Draw a line from corner to corner. Again, sew 1/4" on either side of the line and then cut on the line. |

|
| Now you'll have two pieces that look like this. Measure 4" from the left or right edge to cut apart the two geese blocks. |

|
| Trim the blocks down to size. Since you'll have two pieces like that shown in the previous step, you'll get a total of four flying geese blocks. |
Your challenge is to bring flying geese blocks made using any of these methods to the April meeting. Everyone who brings a flying geese block or finished piece will be eligible to win a prize!


No comments:
Post a Comment