May 13, 2015
Centennial Barn
President Michelle Kirby, presiding
Business
New Meeting Place:
The organization that owns The Centennial Barn has decided to stop its community outreach program, meaning that the May meeting is the last one we will be able to hold in the current location. Michelle will begin researching a new venue at which we can meet, starting with the June meeting. Note that the change in venue may mean a change in the day and/or week of the meeting. So check your e-mail, Facebook, and the blog for more information!
Betsy Travel Bag Class: The class will be held on Saturday, July 25. Cost will be the price of the pattern ($10) for guild members and $50 for non-members. There are hardware kits available for purchase for this bag. And there will likely be some pre-work to do before the class. More information to come soon via e-mail.
Member Survey and Member Spotlight: While several of you have returned the survey and spotlight form, many have not. So we'll be resending both via e-mail. Please fill in and return both at your earliest convenience. Thank you!
Snack Sign-Up: Please see Annie to sign up to bring a snack in the coming months.
Sew-In: The May Sew-In was held on Saturday, May 30, at the Newport Library.
Book Event at Sewn Studio: Sherri Lynn Wood, the author of
The Improv Handbook for Quilters, will be presenting
an improvisational quilting event at Sewn Studio on Wednesday, June 3, at 6pm. Pre-registration is required; there is no cost, but you do need to preorder the book from Sewn. An author signing will take place from 7pm to 8pm.
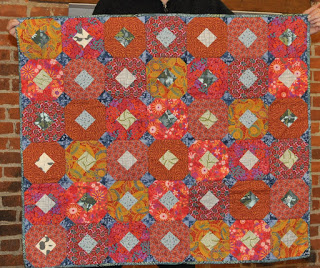
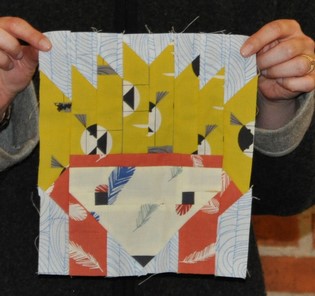
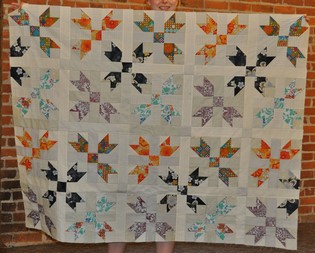
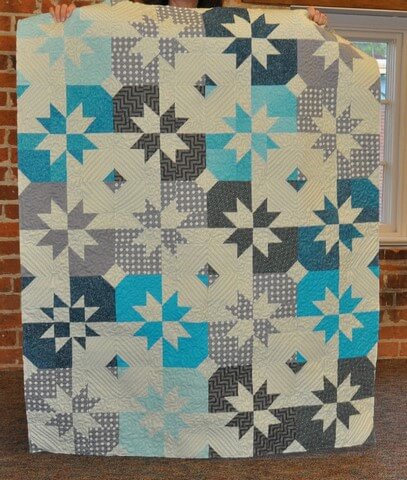
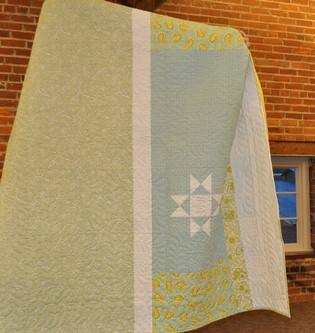
Round Robin
The round robin participants brought the blocks they made for their team members to the May meeting.

|
| Ellen made feather blocks for Abby's quilt. |
|
| Brooke make this block for Lesley. |
|
| And this block, too. |

|
| Kara made this star and the one below for Brooke. |

|
| Abby made this block for Kathy's quilt. |

|
| Lesley made this block for Ellen's quilt. |

|
| Kathy added the flying geese round to Kara's quilt. |

|
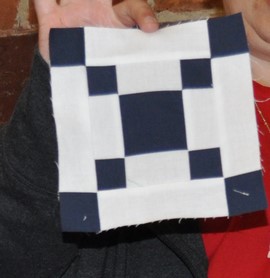
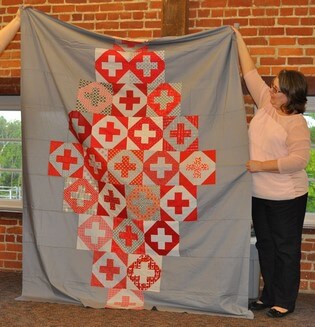
| Annie added the round of crosses to Ellen's quilt. |

|
| Ellen made this block and the one below for Wendy's quilt. |

|
| Wendy made this block and two more for Shona's quilt. |

|
| Robin made this piece for Annie's quilt. |

|
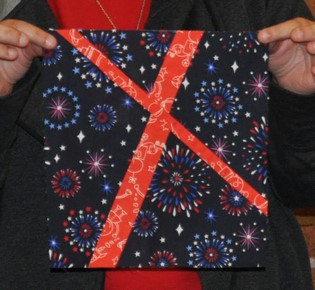
| Shona made this for Janine's winter-themed quilt. |

|
| And Shona made this for Robin's quilt. |

|
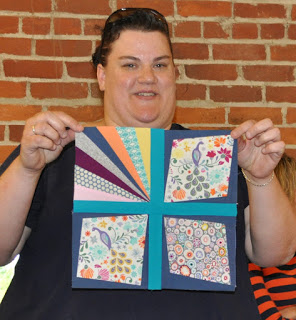
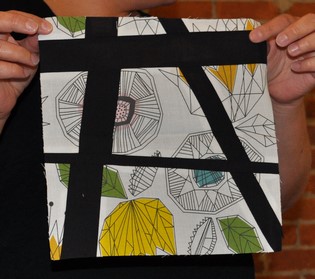
| Janine made this block and the two below for Carrie's nature-themed quilt. |
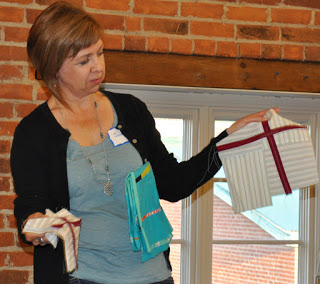
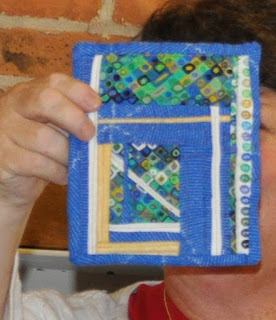
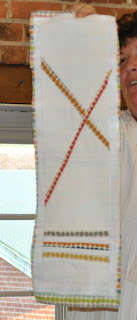
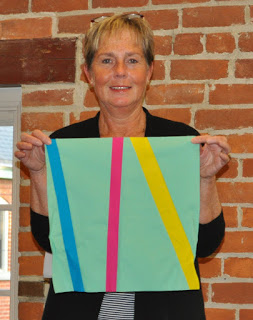
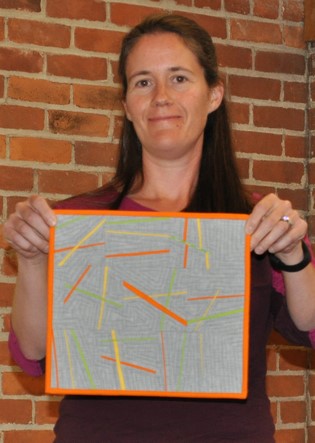
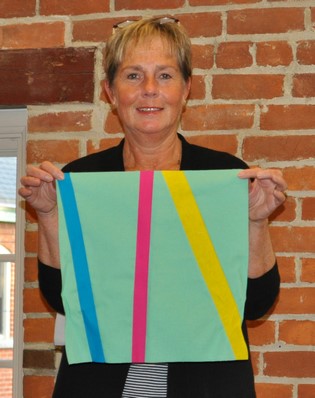
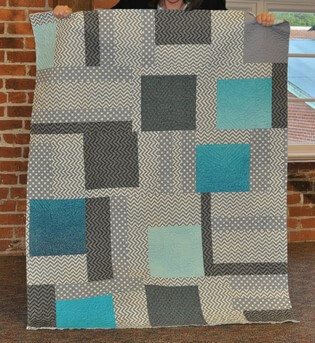
Education Challenge: Slice and Insert
Last month, Michelle and Ellen presented an education session on the Slice and Insert technique. Members were then challenged to make something using this technique to bring to the May meeting. Here's what our members made:
|
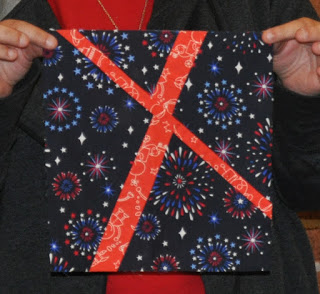
| Shona's block. |
|
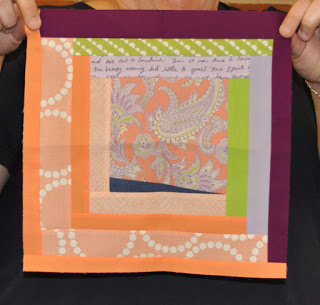
| Kathy's pillow. |

|
| Janice's pieced inserts. |
|
| Janice also made some more blocks. |
|
| Susan's postcard piece. |
|
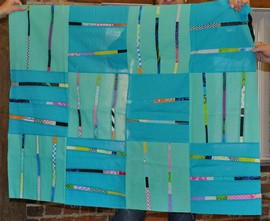
| And Susan's wallhanging. |

|
| Holly's piece using 1/2" insert strips. |
|
| Abby made a One-Hour tote using the technique. |
|
| Ann's block. |
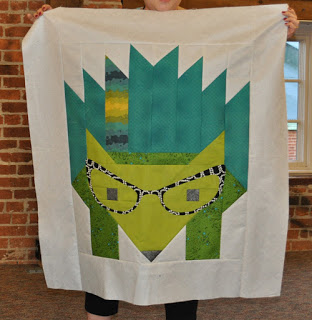
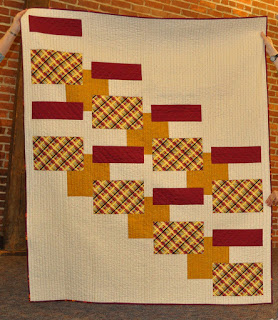
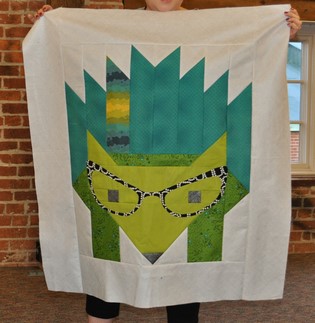
Show and Tell

|
| Emily's hedgehog block by Elizabeth Hartmann. |

|
| Emily's birch bark quilt from a jelly roll. |

|
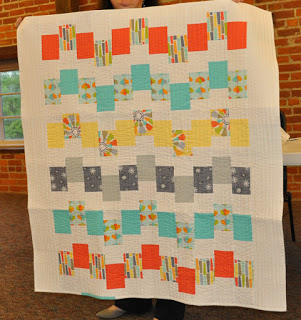
| A quilt Emily made from a magazine article. |
|
| Another quilt by Emily. |

|
| Baby quilt Janine made for her best friend's first grandson. |

|
| The back of Janine's quilt. |
|
| Kay made this to be a baby blanket but then decided it might be too scary. |
|
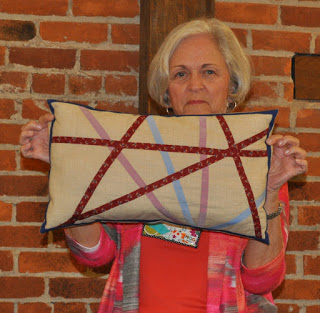
| Kay's quilt using negative space and 1/2-inch straight-line quilting. |
|
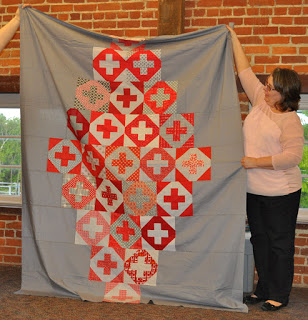
| Ellen's quilt for Do-Good Stitches. |
|
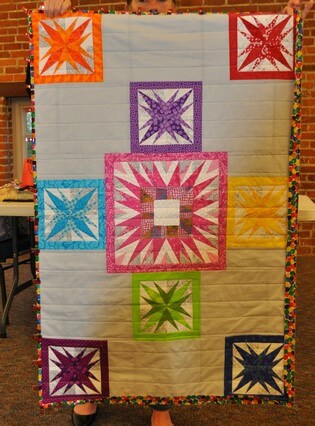
| Sheila's Michael Miller challenge quilt. |

|
| The back of Sheila's quilt, using all the leftover fabric. |
|
| Shona's baby quilt. |

|
| The back of Shona's baby quilt. |
|
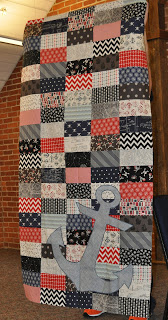
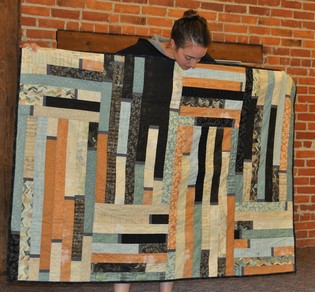
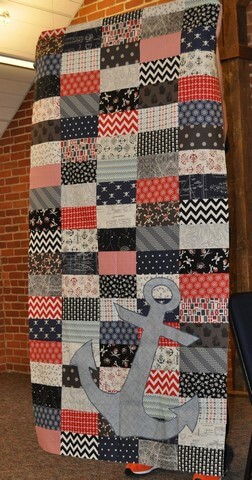
| A twin-size pirate quilt Brooke made for our current charity, the Children's Home of Northern Kentucky. |

|
| With all her pirate fabric, Brooke was able to make a second twin-size quilt for the charity. |

|
| Ann's baby quilt. The large center block is paper-pieced and has 48 pieces. |

|
| Ann's baby quilt. |
|
|
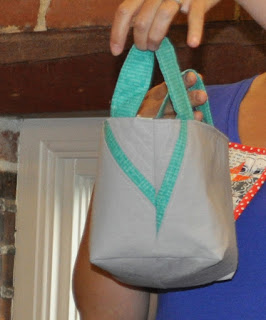
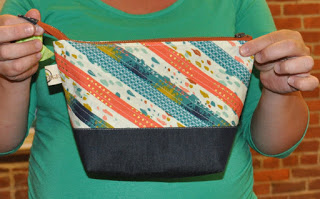
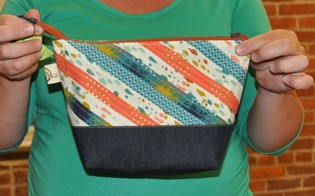
| A bag Abby made for Annie's birthday. |
Education—Quilt Labels
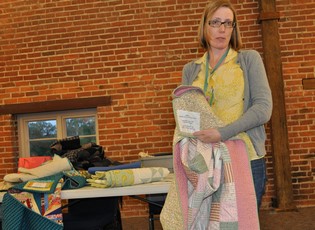
Christine presented the education segment on labeling quilts.
She began by talking a bit about why you should label your quilts. Like an artist signing a painting, a quilt label identifies you as the artist and maker. Even if you don't think your quilts are pieces of art, know that others now and in the future will see them differently. The quilts you make now, using high-quality cotton materials, will last for a hundred years or more. And while your generation and your children know the stories of your quilts, those stories may get lost in future generations. But someone, sometime down the road will want to know about you and your quilts—and labels are the way for you to tell your stories.
5 Common Ways to
"Write" Your Quilt Label
What you choose depends in part on how you'll use your
quilt. The first two methods will fade if the quilt is washed frequently; the last three
options are much more permanent.
1. Pens
This is favorite option. I use the Pigma Micron pen, but fine-point Sharpies are popular as well.
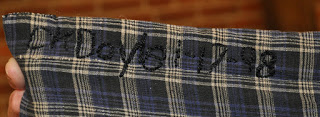
|
|
One of my handwritten labels. I wanted to note that this was one of the first quilts on which I tried free-motion quilting.
|
Heat set and test all pens before using it on your actual fabric label.
To stabilize the fabric to make it easier to write on:
-
Heavily starch your fabric first, to get it nice a stiff. Starch also helps the ink absorb and is less likely to smudge
or run.
-
Back the fabric with stabilizer. This is especially nice if the label fabric is thin.
-
Iron the fabric to freezer paper, then remove the freezer paper when you're done writing.
TIP: Prewash your label fabric as sizing can act as a barrier to ink
penetration.
TIP: If you want a handwritten label but don't like your handwriting, print out message on paper in a font, then trace the
letters onto fabric.
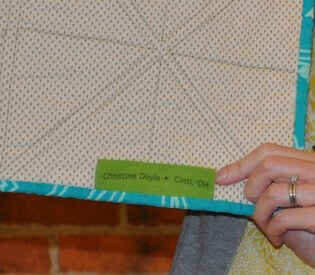
Holly also suggested that the easiest way to label a quilt is to write the information directly on the back.
2. Computer
You can purchase printer fabric sheets for inkjet printers (June Tailor has
an iron-on option). It's generally available in white and off white.
You can also apply a fabric fixative, such as Bubble Jet Set 2000, to the fabric to help the inkjet printing absorb into the fabric.

|
|
I printed on both sides of this tag-type label. I didn't use either of the options above because it's on a wall hanging, and I don't play to wash it often. At the time of this photo, it had been washed once.
|

|
|
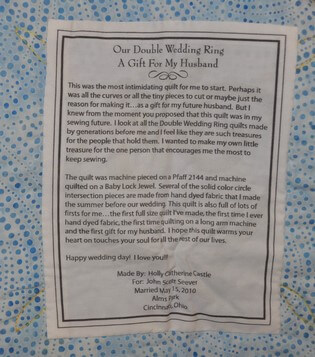
Holly used Bubble Jet Set on her fabric before printing out this story of the quilt she made for her husband when they got married.
|
3. Hand Embroider
|
|
I hand embroidered this very simple label on the back of one of my first quilts. I didn't want the label to stand out from the back, so I used an embroidery thread the blended with the backing fabric.
|
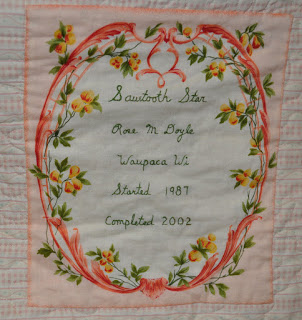
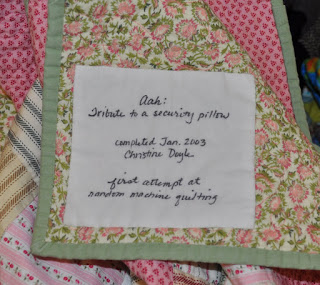
|
|
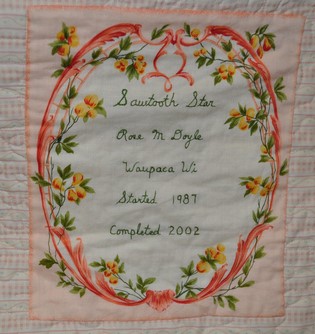
Rose hand embroidered this label, including the quilt block name and her start and completion dates.
|
Brooke also suggested cross-stitching the label information.
4. Machine Embroider
If you don't have an embroidery machine, you can order
custom embroidered labels on Etsy for from $6 to $14 each. This might be a nice option for a commemorative quilt or for a very special gift.
5. Machine Quilt
When you are free-motion quilting your quilt, consider adding your label information. Hiding the "label" in the quilting ensures the information is there, but it doesn't take away from the front or back of your quilt design.
What to include
I write the first three items on every label. The other information can be included if it makes sense for that quilt.
-
Name
-
Date started and/or finished
-
Your city and state
-
Quilt pattern name
-
Quilt title
-
To whom given
-
Occasion for gift
-
Care instructions
4 Ways to Attach a Label to Your Quilt
1. Sew it to the backing fabric
before quilting. This ensures the label will not be removed.

|
|
Here I used one of the blocks from the front of the quilt as the label and sewed it into the backing fabric.
|
2. Hand applique.

|
|
In this case, I wanted the label to tie into the string blocks on the front of the quilt, so I sewed leftover strings around the label. Then I appliqued it to the back.
|
3. Iron on with Heat and Bond, or
similar, and stitch loosely.
4. Sew your label into a corner of the back of your quilt as you attach the binding to the front. Then finish the binding on the back as you normally would.
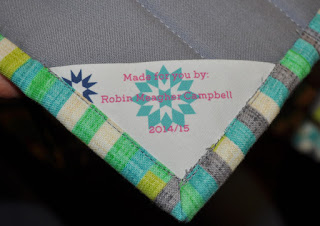
|
|
Robin sewed this preprinted label to the back corner of her quilt.
|
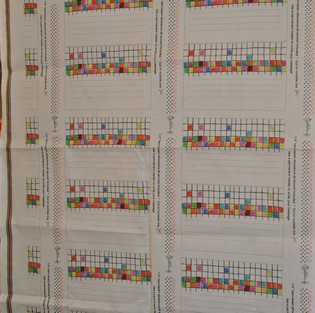
Using pre-printed labels is another way to go. A number of members use preprinted clothing tags as their labels. Or you can order labels by the yard from places like Spoonflower, either blank ones or ones that you design and fill in with your own basic information.
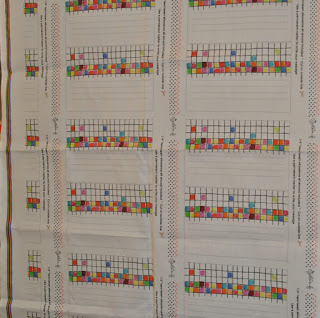
|
|
Preprinted labels purchased by the yard from Spoonflower. Just cut them apart, fill in the information and fold under the edges, then attach to your quilt.
|
Education Challenge
Put a label on project you've made
in the past or one you're working on and bring it to the June meeting for your
chance to win a prize!


No comments:
Post a Comment